
By Wobkey
Dec 24, 2023
Who is Wobkey? A quick google search pulls up their website, and nothing else. Their discord link doesn’t work at the top, but there is an embed at the bottom. A server. A grand total of 64 people. No instagram. No youtube. And no leads. Except for this. In this box is one of the greatest value keyboards I have ever tried. So let’s just start from the beginning.
There’s a pretty standard unboxing experience. Opening this up, we first have some bluetooth documentation, And an accessory box on the top, which includes a kinda lame cable, unbranded switch and keycap puller, wireless dongle, and extra switches. Now we get to the board itself, and the way this is foamed reminds me of gaming keyboard packaging. Under it is also some more sample switches, and some extra documentation. Lastly, let’s take off the weight protector.
From what I’ve gathered, the Rainy75 is a budget PCB gasket mounted 75%. We have only hotswap PCBs that support stepped caps and split spacebar. These have daughterboards and utilize QMK and VIA. As for plates, only polypropylene is available, or PP, but for colors, we have a bunch of different choices, including anodized black and silver, and electrophoresis white, blue, pink, and purple. These can all also be combined with different bottom weight colors and come with the choice between two different preinstalled switch types - Violets by HMX, or Wobs by JWK . Finally, the Rain75 will run between 99 dollars and 129 dollars.
So the stock config is extremely loud, which is kinda surprising for a PP plate. It’s not surprising for how foamed up the keyboard is, which we’ll be changing in a second, because this is the signature PE foam sound, and I don’t like how the spacebar also has that “clicky” sound that sometimes happens with PBT keycap sets. The board has typical foams, like plate foam and bottom PCB foam, but the sheet on top of the PCB is actually PET instead of PE, which should make it ever so slightly different. The violet switches in this config sit primarily in the midtones, making the sound profile pretty pleasant overall. They’re pretty typical linear switches, with a PC top, nylon bottom, and POM stem, and they do come lubed out of the box. They really aren’t particularly smooth, but they do have great tolerances and no spring ping. As for the stabilizers, they aren’t perfect. They each have a tiny bit of tick, but besides this, they’re really good, and I wouldn’t be opposed to running them stock. Overall, the stock sound profile is very pleasant, and I’m curious to see how it sounds without all the foams already included.
In fact, there’s so much foam that I think it becomes the main thing taking away bounce from the board. Both the PCB and plate have flex cuts, which contribute a ton to localized flex. But because of how much foam there is, you can’t really make the entire inner assembly dip down. The balance between flex and bounce is really just a matter of preference. Some prefer bounce as it feels more springy in a way, but it all comes down to how the board sounds and feels stock, without all the included foams, as that’s going to show how versatile the board will be when you get it in your own hands.
So let’s take it apart and rebuild it in my own configuration. This board is screwless, which means the screws are accessed from the top. Now, we can take off the top case, and access the inner assembly. I’m going to remove all the keycaps, And all the switches. Now I can remove the plate, And remove the plate foam and PET foam sheet. With those out, I’m going to install lubed and filmed Epsilons. These are a pretty deep sounding linear, And I’m going to keep the bottom case foam and antistatic sheet. Now, we can close up the case, And I’m going to install GMK Rainy Day.
So it still sounds really good with the foams gone. There’s still a ton of body in the sound, and I guess the flex cuts didn’t really make this config plasticky. It is pretty significantly quieter though. There’s an interesting contrast between the alphas and the spacebar. The alphas are fairly deep, but nothing in comparison to the thunk of the spacebar. PBT alphas might be better for this config in particular but I’m worried for what it would do to the spacebar pitch. Overall, I’m extremely impressed with how much the sound held up without the main foams.
The flex actually isn’t much better with them gone. Recall that I only removed the plate and PET foam sheet, but overall, there just isn’t a lot of interior space in the case, so the PCB ends up just resting on the foam. And the thing is, without the bottom foam, the sound is kinda dead and metallic. This is one of the only big issues with this board, and keeping or removing the bottom case foam ends up becoming the deciding factor between good sound or good flex.
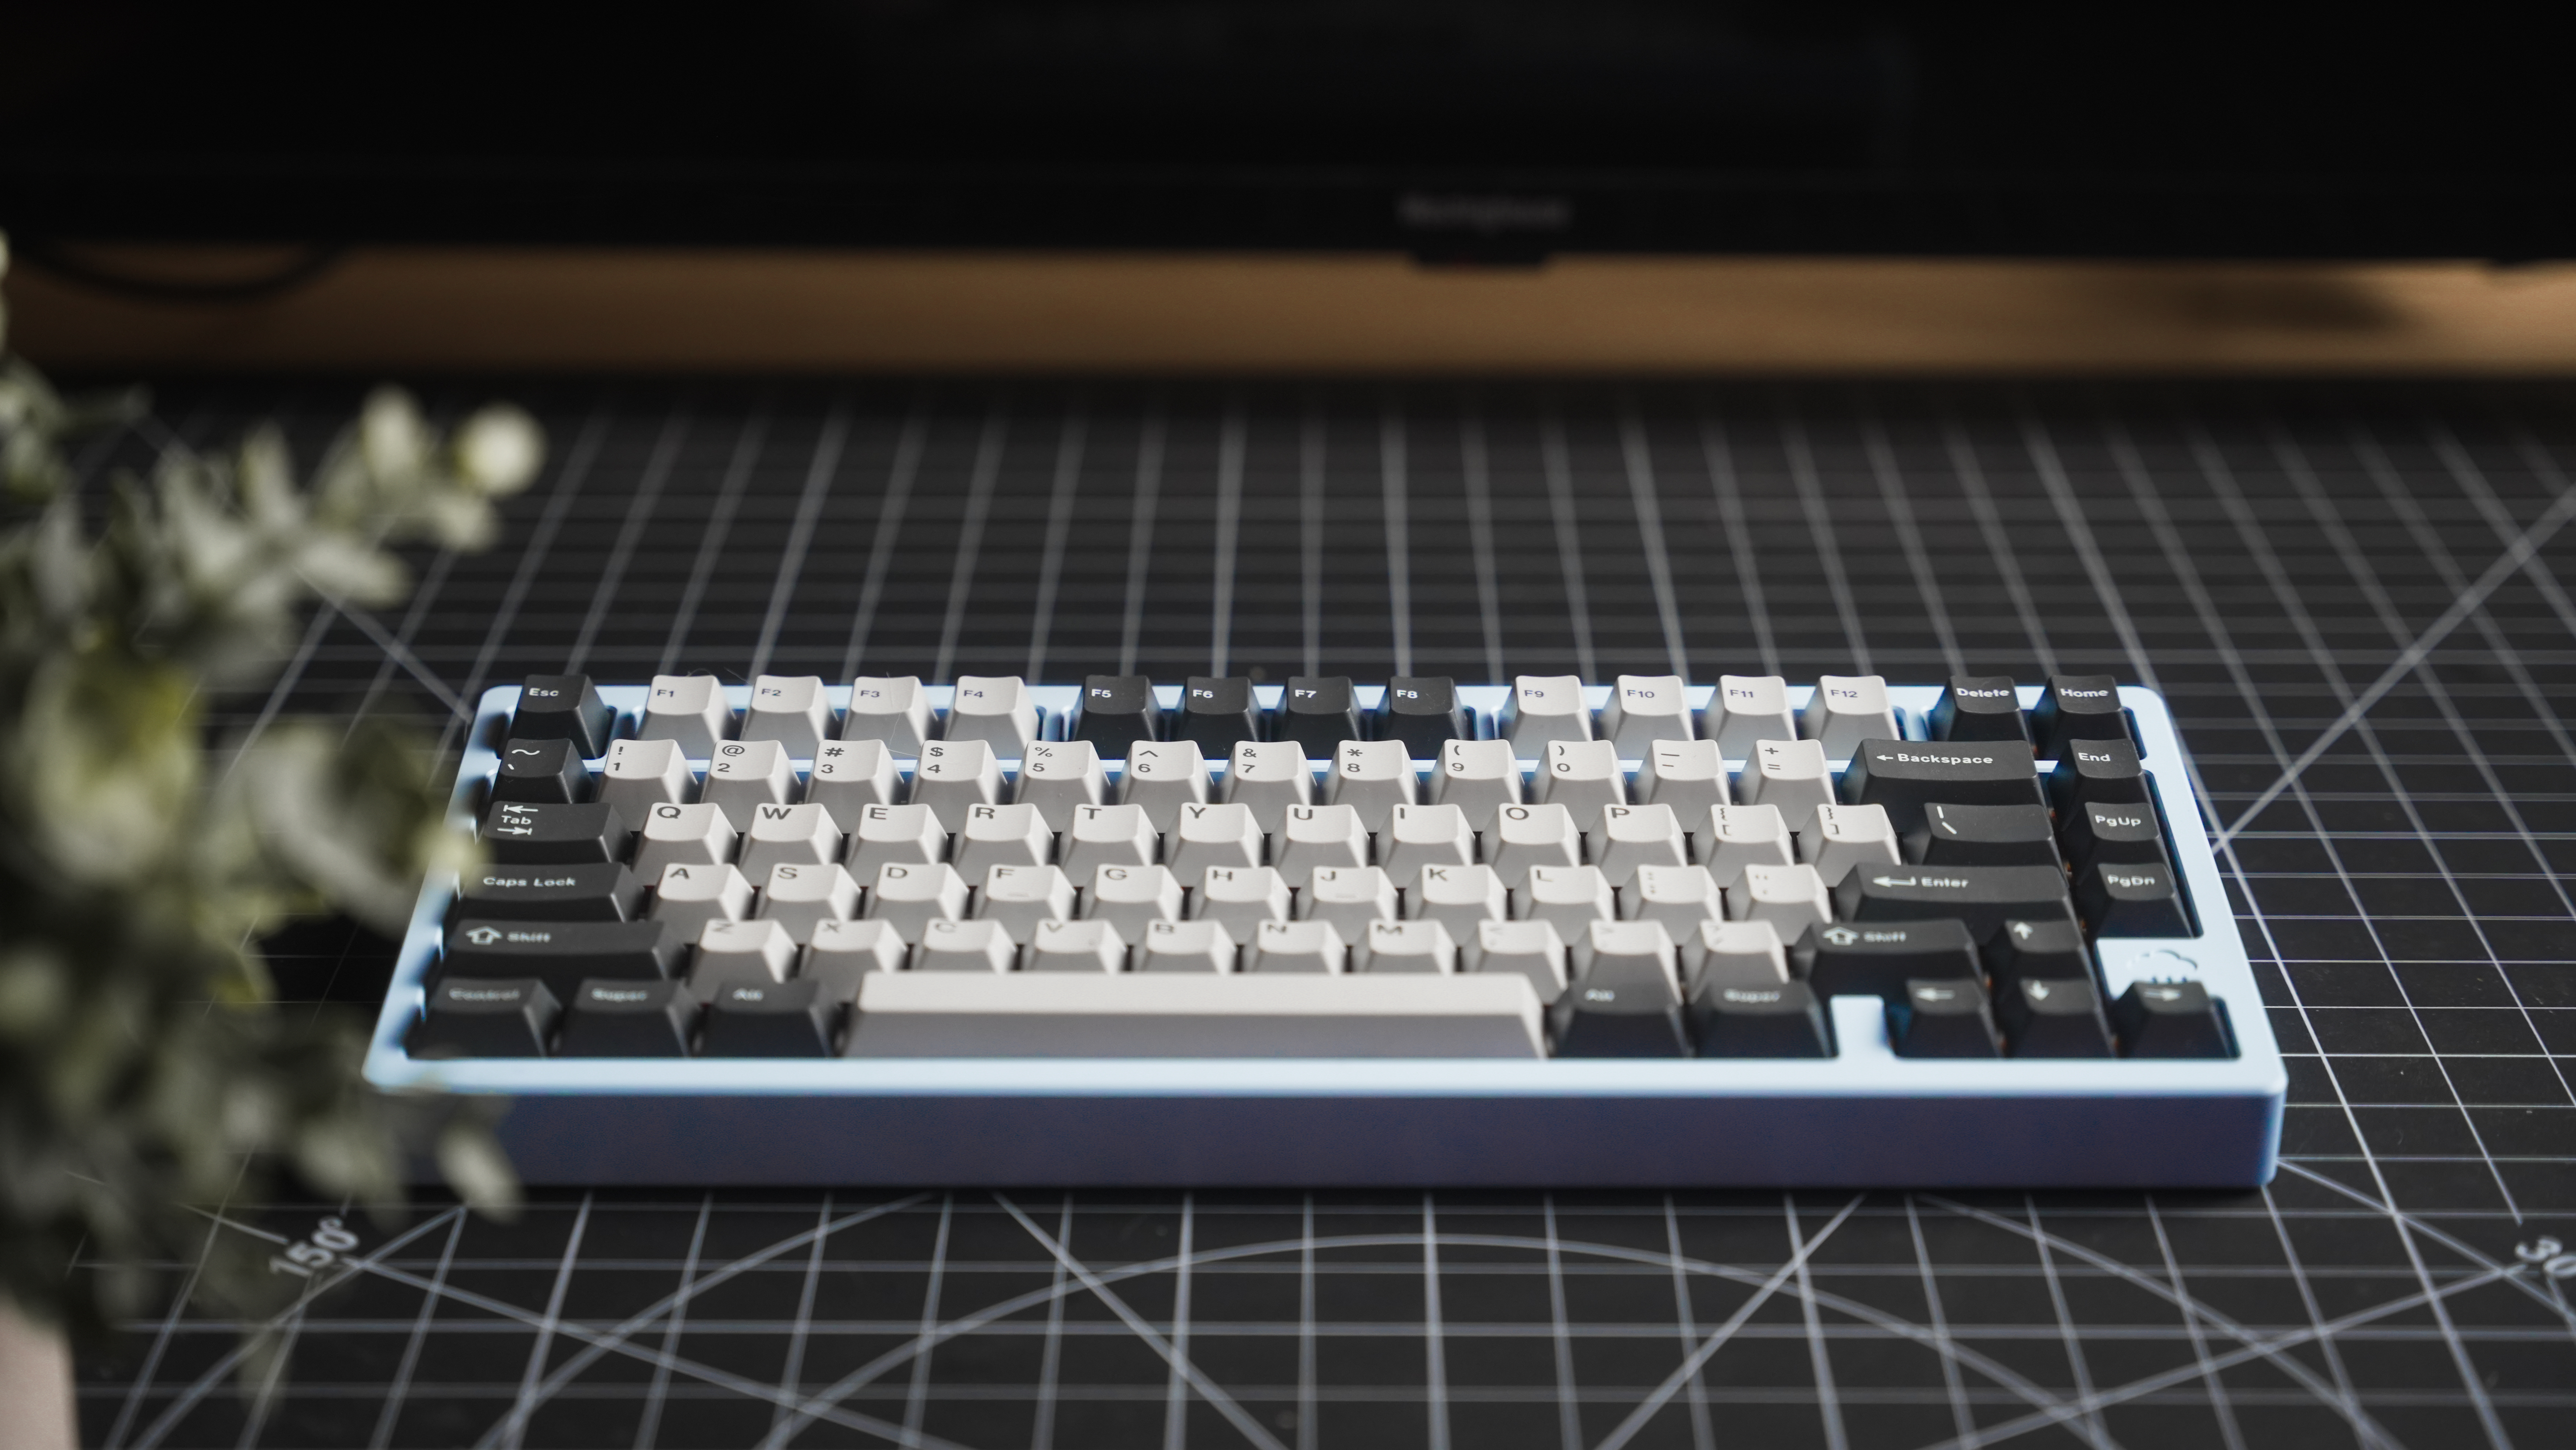
How about the design? Well, it’s a little plain but manages to stick to the theme. We have Jelly Epoch-like engraving placement on the top with a small rain cloud. There’s very slightly uneven side and top/bottom bezels, and an average sized chamfer all around. The side profile is very generic, and shows the bottom piece. The back has our centered recessed USBC port. The bottom has thin feet and the weight piece, which is cut out in the shape of this really deep rain cloud engraving. The weight also seems like it has a protective layer on top. Even though the weight is flush with the bottom, the color doesn’t seem to start until deeper in, instead of being on the surface. Keep in mind the board is also screwless, so there aren’t any holes visible on the bottom here, making exterior look extremely clean. How about the interior? Well we have these pretty interestingly shaped dumbbell gaskets, which are really skinny and have alignment pins on both the top and bottom. Under the inner assembly is 2 slots for batteries, one of which is filled with a dummy piece that kinda acts as an internal weight. The quality overall is very high. The electrophoresis coloring is very consistent between the bottom and top case, there’s no issue with texture, and of course, no scuffs anywhere.
And all of this begs the question - what’s the deal? How is a no-name brand flipping the budget keyboard scene with their first project? While I can’t attest to the trustworthiness, I can attest to the price. This board completely relies on an economy of scale. The group buy will have a quantity of 3000, which is definitely helping keep costs low for each individual board. This is also a kickstarter board, placing it among a few other interesting projects I’ve reviewed in the past, like the concrete keyboard from Azio. As for wobkey, they’re still a bit of a mystery. But the value of the Rainy75 isn’t. $100 for a 75% prebuilt keyboard of this level and quality is incredible. You’re getting modern internals, with the gasket design and screwless assembly, and an up-to-par build, with decent switches, keycaps, and well tuned stabilizers. This is literally not being offered elsewhere in the market, with the QK75N bundle being a whopping $130 dollars more than the starting Rainy75. Of course, there definitely could be more customizability, but the price point really leaves nothing else to be asked for, and I’m extremely curious what Wobkey will bring to the budget custom keyboard space in the months to come.